As we navigate our way through life, there’s nothing more important than finding something that you’re passionate about and really seeing it through.
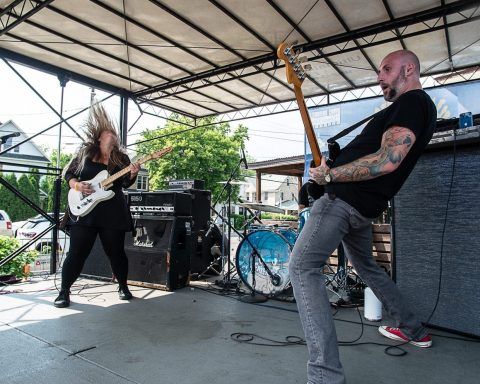
If you’re a creative person who loves to make music, then there’s nothing quite like having your own studio. Any artist knows that inspiration can hit at any time. If you are a musician, you can probably relate to this even more. Has inspiration ever come to you, and you found yourself wanting to start recording at a random hour of the night? If you are a dedicated artist, then it may be time for you to set up your own recording studio at home. The following guidelines will help you make the best DIY studio out there.
1- Figure Out Your Space
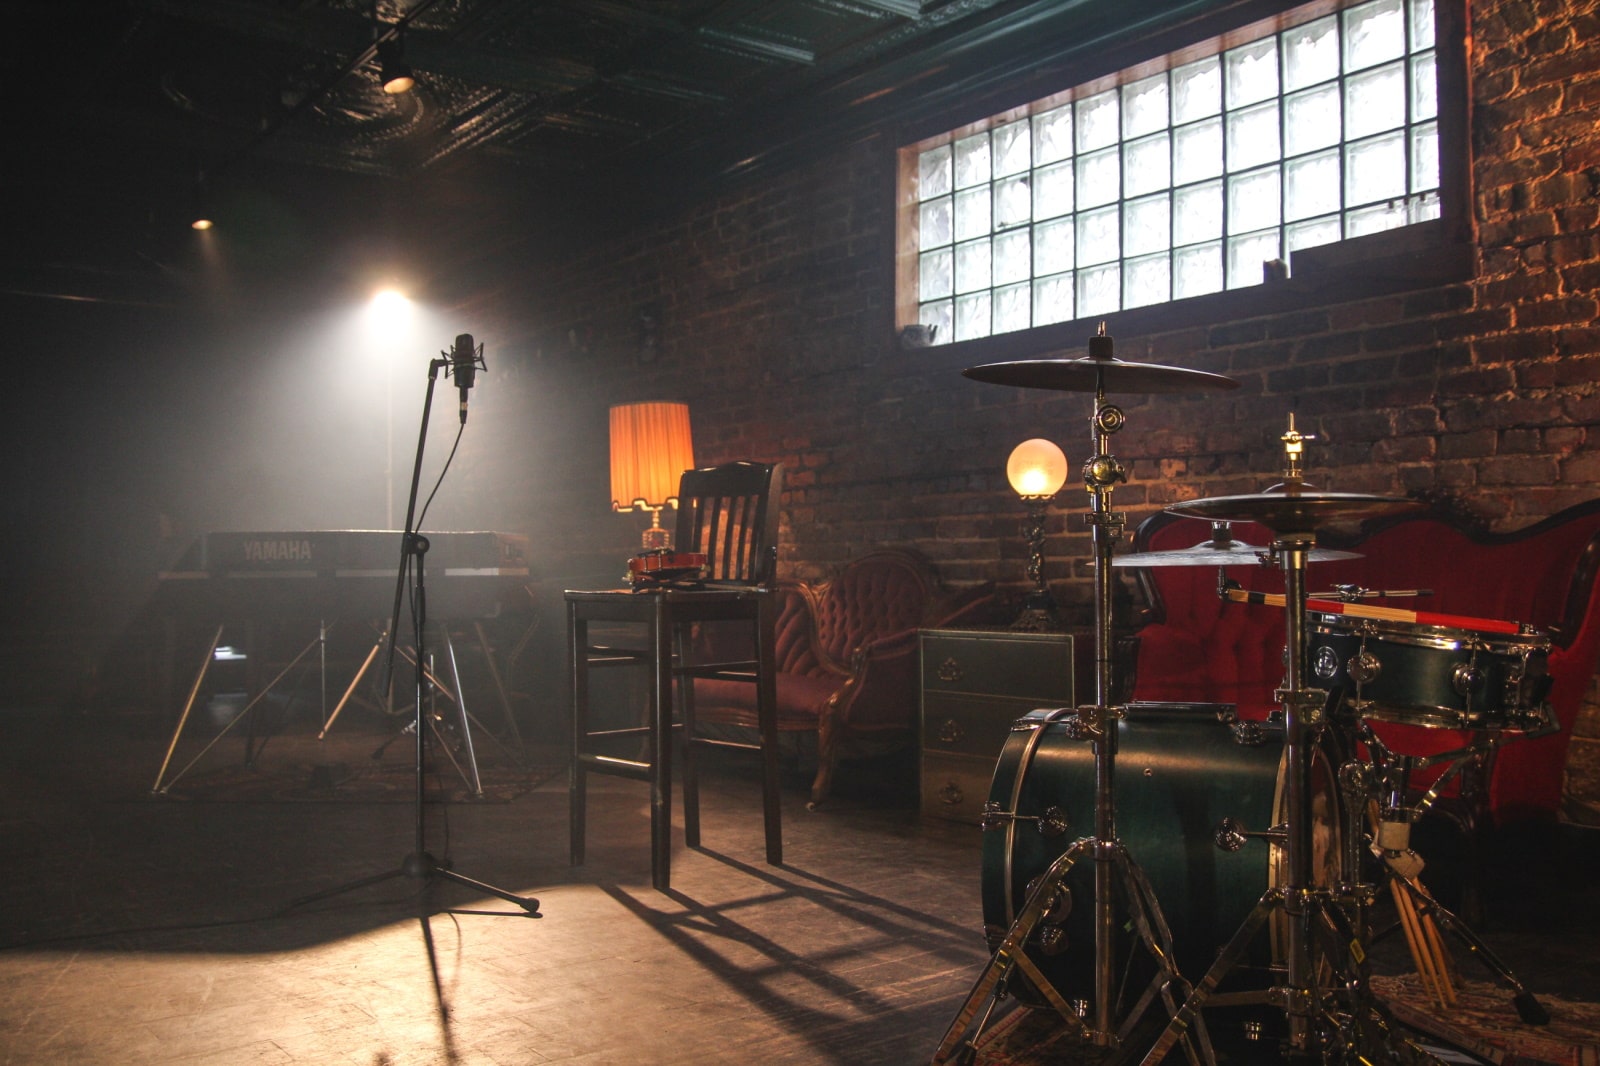
The first step you need to take after you decide that you want to have your own studio is to figure out where it is going to be. Ideally, you should dedicate an entire room in your home to act as your studio. The room you choose has to fit certain criteria to ensure that your DIY studio is a success. The room of your choice needs to be spacious. A small room is not going to give you the best sound quality. The larger the room, the more suitable it will be as a studio. When choosing a room, you should also make sure that it does not have any unnecessary furniture that can affect how sound travels. This is why ideally the room needs to be empty before you start adding your studio equipment.
Another factor you need to take into consideration when picking which room you are going to turn into your recording studio is how much noise enters the room. For example, if a room has a window overlooking a busy street and traffic noise is common where you live, then it will not be a suitable pick. This will also help you out later on when you have to soundproof the room.

2 – Find the Right Equipment
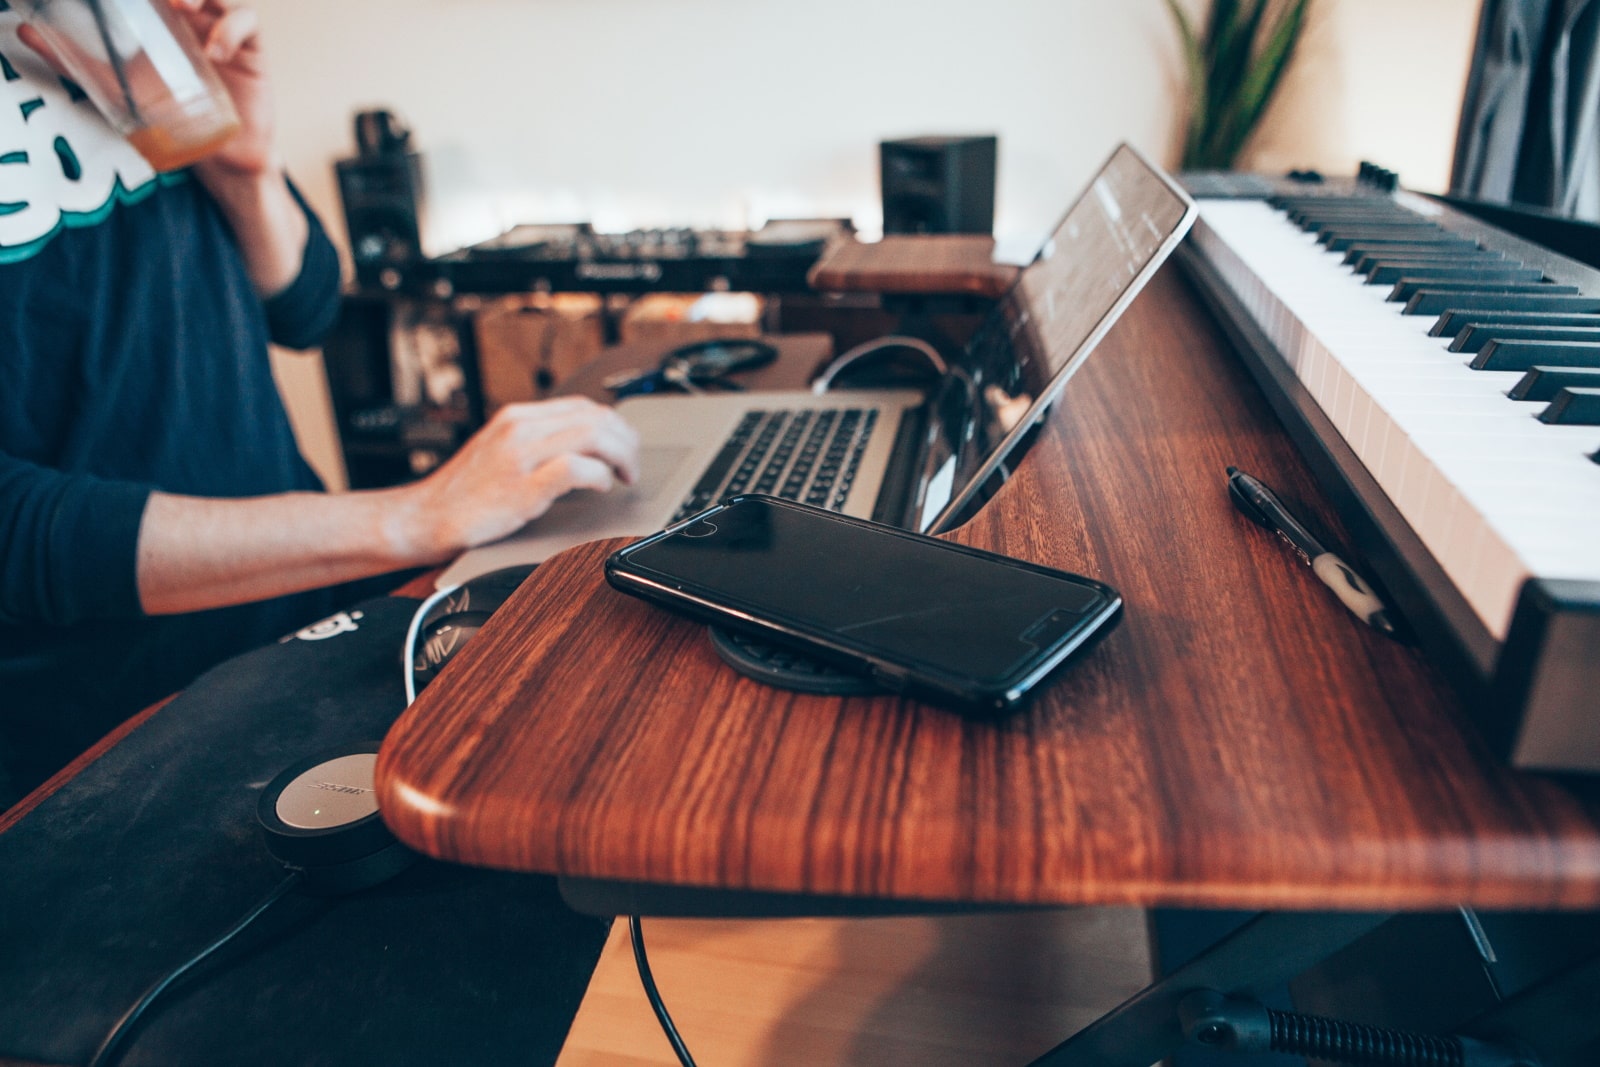
After you settle on your chosen room, you are going to start looking for the equipment you need for the studio. The main pieces of equipment you need are an MPC, a microphone and a stand, a computer, a digital audio workstation, an audio converter, headphones, studio monitors, and pop filters. This list may seem like a lot, however; each of these has its own important role.
Microphones, a computer, and headphones are very basic equipment that you should have around even if you do not want a professional home studio but still want to record music. You will need an MPC to incorporate different sounds into your music to ensure that it does not end up sounding amateurish. If you are unsure which one to get, checking different reviews for the best MPC for your studio and recommendations by professionals can help you exponentially. A digital audio workstation or DAW for short is the software you will use to record, edit and merge different segments together to create the final product and an audio converter is a device that connects the microphone to your computer to convert the sound waves into an input that you can edit. Buying high-quality tools are going to be an investment that will eventually pay off when you start recording the beautiful music you’ve always wanted to create.
3 – Soundproofing the Room
Now that you have purchased the necessary equipment, you should look into different methods of soundproofing to ensure that your room is sealed off from any sound. Even the tiniest sound is amplified through microphones, so any hum or outside noise will give you unnecessary trouble. You can soundproof your room using insulation foam, or MDF, which is a cheap way to ensure that your sound quality is not subpar. Using insulation on your walls is not enough most of the time, since contact between any surfaces can create vibrations that will affect the clarity of your recording. This is why you should also limit the points of contact between the equipment and the floor using decoupling. You can do so by using rubber isolators which are placed under equipment to limit contact with the floor. This will ensure that resonance is minimal.
Having a recording studio for yourself will eliminate the frustration of losing an idea before you can reserve a recording studio for a couple of hours. Now that you have all the requirements figured out, you can set up your at-home recording studio in no time. Investing a lot of time and effort when setting up your studio may seem like a hassle, however, it is crucial for your end products’ quality.