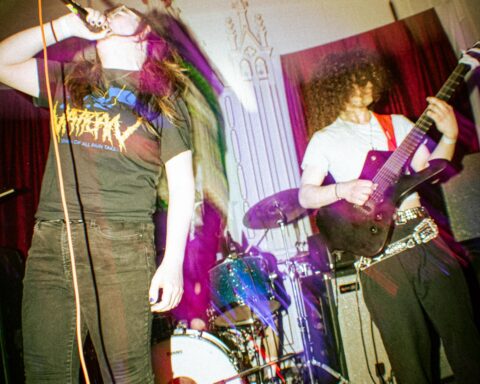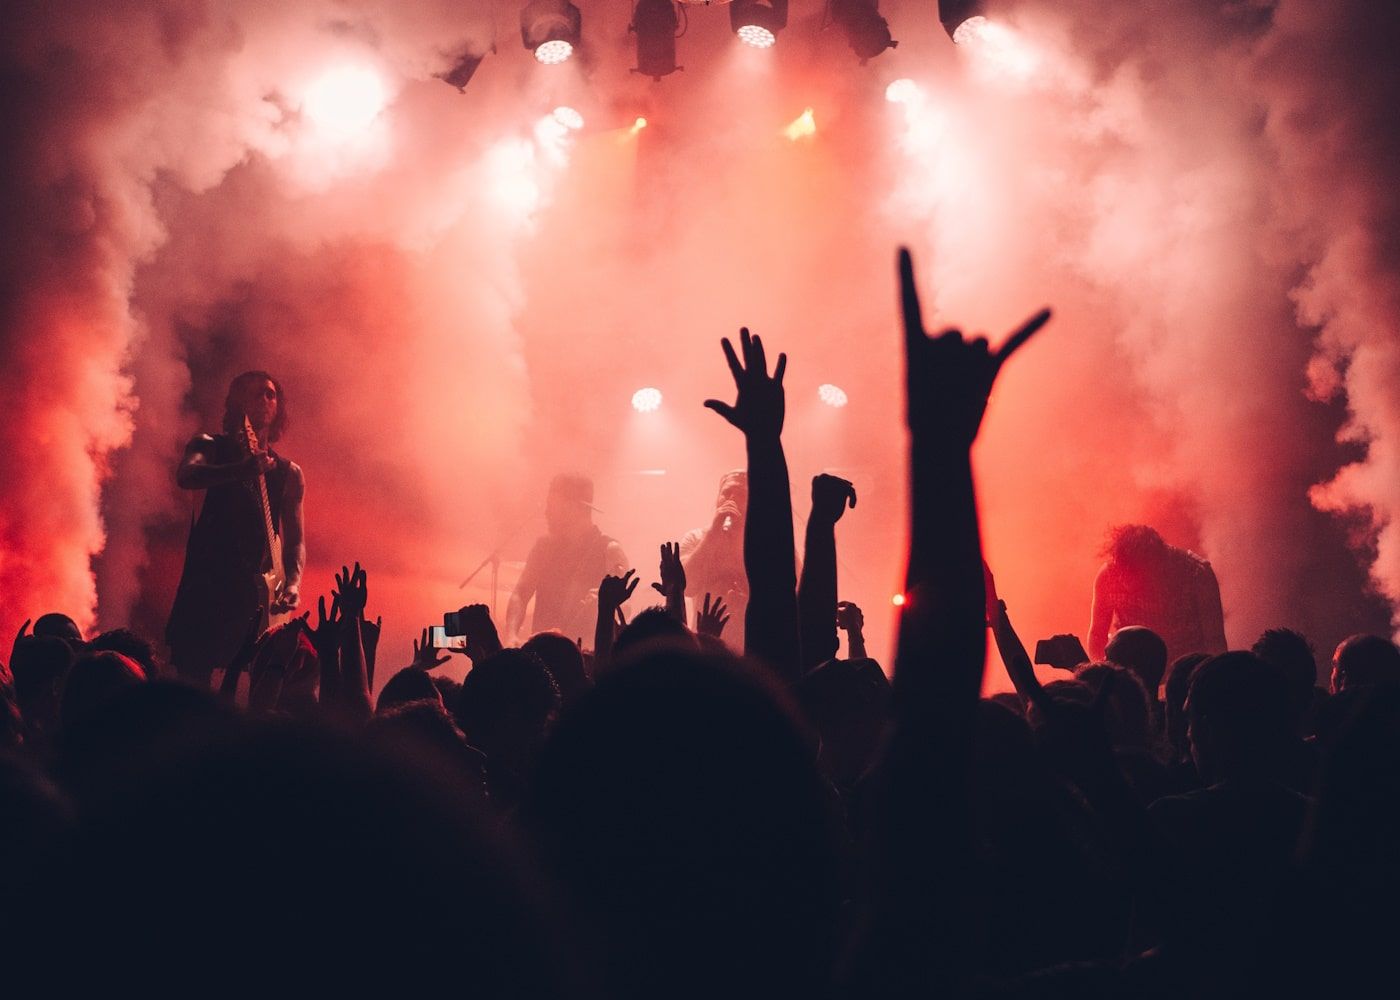
Think about the last time a live show genuinely moved you. Not just the music, but the way the lights made you feel. That rush isn’t random—a 2025 study in PMC found that live performances evoke significantly higher pleasure and wakefulness than recorded versions.
For independent bands, that emotional impact isn’t just a nice moment; it’s a survival strategy. The top 1% of artists grab roughly 90% of all streaming revenue, leaving the rest of us to hustle hard on stage.
With the live music industry pulling in $25.9 billion globally that same year, your gig is your biggest earning and fan-building asset.
So let’s talk about building a stage lighting rig that grows with you—from the dampest basement to a proper 500-cap venue.
The Three Core Principles of Band Stage Lighting
Visibility, Depth, and Mood
Great band lighting isn’t about blindly blasting the stage. It balances three things:
- visibility (front lights at 45-degree angles pick up faces and instruments)
- depth (backlights and side fills create layers so the bassist doesn’t vanish into the wall)
- mood (colour and intensity set the emotional tone).
While Gear4Music team described four functions of stage lighting as:
- visibility
- mood
- composition
- focus
Think of lighting not as a glorified lamp, but as the director’s hand guiding the audience’s eyes. Without that, even the tightest set feels flat.
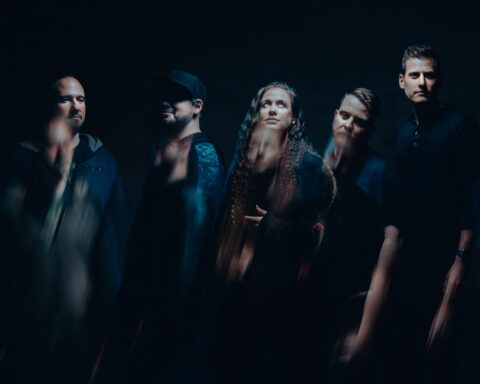
The Emotional Power of Colour and Movement
Colour isn’t just decoration. Red and amber scream energy and heat; blue and violet pull you into a calmer, more reflective headspace; white and warm tones offer clarity and focus. Where you point the light changes its character, too.
Front lights reveal the sweat and finger picks; side lights shape outlines; backlights define movement. That’s why understanding these basics before you spend a penny matters.
You’re not just buying gear—you’re learning how to shape a human experience.
Tier 1: The Basement / Tiny Venue Rig (Under 100 Capacity)
What You Actually Need
Tiny stages don’t need a festival rig. A stage roughly 10ft by 6ft can work wonders with as few as two front lights and one backlight, according to UKing’s immersive lighting guide.
For 25–60 seat rooms, plan for four to eight purposeful fixtures covering front, back, and a bit of wash. The classic 3-point setup—two front lights at 45° angles, one backlight for depth, and optionally a warm fill light—is a lifesaver when you’ve got no dedicated lighting tech.
Most crucial though? Venue quality on the DIY circuit is wildly inconsistent. You can’t count on the house having anything functional.
That’s why a portable rig you understand inside out is your best defence.
As our own article Touring the UK: Expectations vs Reality makes clear, the financial squeeze and dodgy power situation mean you need to be self-sufficient.
Gear and Budget Breakdown
A starter budget of $800–$2,000 gets you two to four LED PARs, one or two effect fixtures (like mini moving heads or a strobe), plus basic stands and power distribution. Prioritise front wash lighting and one or two effects before lusting after lasers.
Entry-level LED PARs cost $50–$100 each; professional-grade units run $200–$500, according to Topdancelight. For most small-to-medium rooms, four to six wash lights give you solid, even coverage without tripping the breaker.
Tier 2: Small-to-Mid Venues (50–200 Capacity)
What a Growing Rig Looks Like
The SHEHDS guide recommends 4–6 LED PARs for wash, two moving head spots for key lighting, 1–2 LED bars for backlighting, a compact fog machine, and a basic DMX controller with 8–12 channels. The switch to LED is a no-brainer.
As Vellolight points out, LED PARs deliver 60–150 lm/W versus halogen’s pitiful 10–25 lm/W, and last 25,000–50,000 hours to a halogen bulb’s 1,000–2,000. That means less time replacing bulbs in a dark club at 1am.
Budget-wise, entry-level rigs start around $300–$500, while professional packages for these rooms land between $1,500 and $5,000+. And because most small venues have limited 15–20 amp circuits, the fact that modern LEDs draw just 10–50W each (versus 300–1,000W per traditional fixture) means you can run multiple lights on a single outlet without killing the sound.
Fog, Haze, and Atmosphere
Light without atmosphere is a wasted opportunity. Fog machines produce thick, dramatic clouds that dissipate quickly—perfect for a big intro punch. Haze machines, on the other hand, create a finer mist that hangs in the air, making every beam visible across the stage.
Water-based fluids are the safe, residue-free choice for small venues; oil-based fluids hang longer but leave a film—better left to pros.
This is where building an affordable rig gets practical. If you’re hunting for a beginner-friendly LED solution, the LED par lights from SHEHDS offer a range that stretches from entry-level 7x12W RGBW fixtures at $30.45 to the GlamoPar 7x12W 6-in-1 at $65.25, with DMX512 compatibility, sound-active mode, and master/slave control built in. There are even IP65-rated outdoor models if your next gig is a damp marquee.
For a band dipping its toes into lighting, that price point makes learning affordable.
DMX Basics: The Control Protocol Made Simple
What DMX Actually Is
DMX (Digital Multiplex) is the universal language of lighting control. A single DMX universe contains 512 channels, each with a value from 0–255, that can control brightness, colour, and movement, explains Thomann’s beginner guide.
A simple RGB LED PAR uses 3–7 channels; a moving head eats 12–32. Think of it like a remote control—you assign addresses and the light listens only to its own set of numbers.
Get it right and you can paint with light; get it wrong and you’ll have fixtures randomly doing the Macarena.
The Rookie DMX Mistakes That Ruin Your Show
The most common blunders, according to SoundstoreXL, are overlapping DMX addresses (two fixtures fighting for the same channel), using the wrong DMX mode (your controller profile must match the mode set on the fixture itself), and—the classic—using audio XLR cables instead of proper 110 Ohm DMX cables.
Also, forget the terminator (a 120 Ohm resistor at the end of the chain) and you’ll chase gremlins all night.
Tier 3: Mid-Size Venues
Scaling Your Rig
The SHEHDS guide specs out 8–12 LED PARs, 4–6 moving heads (mix of beam and wash types), 2–3 LED bars, a laser effect unit, 2–4 blinders or strobes, a mid-range DMX controller with scene memory, and a truss system for overhead mounting.
But with more gear comes more responsibility. Gear4Music’s safety guidance is blunt: keep strobe rates to a max of 4 Hz (four flashes per second) and let the room know beforehand if you’re using them, because photosensitive epilepsy isn’t something to mess with.
Stepping into this tier also means thinking about the broader production. It’s not just about the lights—it’s about the entire tour machine. The more you understand that, the smarter your lighting investments become.
The North America Context
For bands on this side of the pond, the market is on your side. Credenceresearch pegged the global stage lighting market at $2,240.91 million in 2024, with North America commanding 36% of that, driven by entertainment hubs and widespread adoption of advanced LED systems.
That means the same affordable LED technology you’re eyeing is being pushed harder by competition, keeping prices reasonable.
You’re no longer at the mercy of a niche industrial supply chain.
The Common Mistakes That Kill Your Vibe
Even with the right gear, you can sabotage your set. The betopperdj team identified seven recurring mistakes:
- relying on brightness alone
- ignoring ceiling height and throw distance
- using only one fixture type
- overcomplicating the rig
- ignoring the camera and dimming behaviour
- ignoring runtime and thermal stability
- designing for the stage rather than the audience.
Your lighting should serve the performance, not distract from it. I’ve seen bands roll in with four moving heads and no clue how to address them, or blast a 30-cap room with disco levels of brightness that simply hurt.
Instead, think from the audience’s perspective: can they see the emotion on the singer’s face? Does the light shift with the song? That’s what matters.
Build Your Rig, Own Your Show
In an era where streaming pays pennies and the top 1% hoover up almost all recorded music revenue, a compelling live show is your band’s greatest asset. Lighting transforms a decent set into something people remember.
The PMC study proves that digital media can’t replicate the emotional richness of live experience—and your lights are part of that.
Start small, master the basics, and scale only as your venues grow. A well-programmed £500 rig that you understand will always look better than a £5,000 rig that you don’t.
Grab a couple of LED PARs, learn your DMX, and make your next show the one people can’t stop talking about.